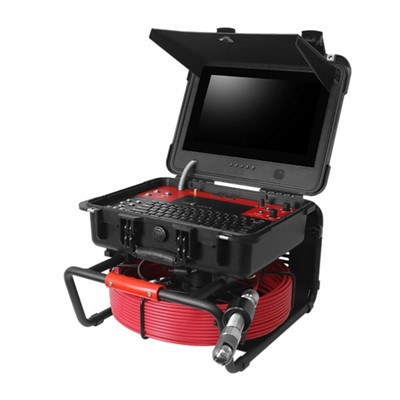
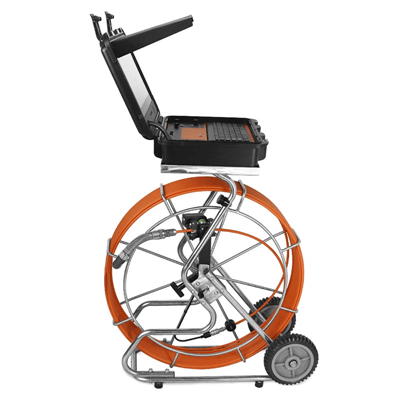
Hey there! I'm a supplier of the 100m Water Well Camera, and today I'm gonna walk you through how to install the software for this awesome device on your computer. Whether you're a professional in the water well industry or just someone curious about what's going on down in those deep wells, this guide will help you get your camera up and running.
Prerequisites
Before we start the installation process, there are a few things you'll need to have on hand. First off, make sure your computer meets the system requirements. The 100m Water Well Camera software usually runs smoothly on Windows operating systems, so a Windows 7, 8, or 10 machine should do the trick. You'll also need a stable internet connection to download the software, and a USB port to connect the camera to your computer.
Step 1: Download the Software
The first step is to download the software for the 100m Water Well Camera. You can find the download link on our official website. Just head over to the product page for the [100m Water Well Camera](link to the product page) and look for the download button. Click on it, and the software will start downloading to your computer.
While you're waiting for the download to finish, let me tell you a bit about our other camera products. We also offer Borewell Underwater Camera, Deep Well Camera, and Drilling Inspection Camera. These cameras are all designed to provide high-quality images and videos of what's going on inside boreholes, deep wells, and drilling sites.
Step 2: Install the Software
Once the download is complete, locate the downloaded file on your computer. It's usually in the Downloads folder. Double-click on the file to start the installation process. Follow the on-screen instructions to complete the installation. This usually involves accepting the license agreement, choosing the installation location, and clicking the "Install" button.
During the installation, the software may ask you to restart your computer. Don't worry, this is normal. Just follow the prompts and restart your computer when prompted.
Step 3: Connect the Camera
After the software is installed and your computer has restarted, it's time to connect the 100m Water Well Camera to your computer. Locate the USB cable that came with the camera and plug one end into the camera and the other end into a USB port on your computer.
Once the camera is connected, your computer should automatically detect it. If it doesn't, you may need to install the camera drivers. You can usually find the drivers on the CD that came with the camera or on our official website.
Step 4: Launch the Software
Now that the camera is connected, it's time to launch the software. Look for the software icon on your desktop or in the Start menu and double-click on it. The software should open, and you should see a live feed from the camera on your screen.
If you're having trouble getting the camera to work, make sure the camera is turned on and the USB cable is securely connected. You may also need to check the camera settings in the software to make sure they're configured correctly.
Step 5: Calibrate the Camera
Before you start using the camera, it's a good idea to calibrate it. This will ensure that the images and videos you capture are accurate and clear. The calibration process usually involves adjusting the focus, brightness, and contrast settings.
To calibrate the camera, look for the calibration options in the software. Follow the on-screen instructions to adjust the settings until you're satisfied with the image quality.
Step 6: Start Using the Camera
Once the camera is calibrated, you're ready to start using it. You can use the software to capture images and videos of what's going on inside the well. You can also use the software to zoom in and out, pan the camera, and adjust the settings as needed.
The 100m Water Well Camera is a powerful tool that can help you inspect the condition of your well, detect leaks, and identify any potential problems. Whether you're a professional well driller or just a homeowner looking to keep an eye on your well, this camera is a great investment.


Conclusion
Installing the software for the 100m Water Well Camera on your computer is a relatively simple process. By following the steps outlined in this guide, you should be able to get your camera up and running in no time.
If you have any questions or need further assistance, don't hesitate to contact us. We're here to help you get the most out of your 100m Water Well Camera. And if you're interested in purchasing a camera or any of our other products, feel free to reach out to us for a quote. We'd love to work with you!
References
- Manufacturer's manual for the 100m Water Well Camera
- Online resources and forums for water well camera users